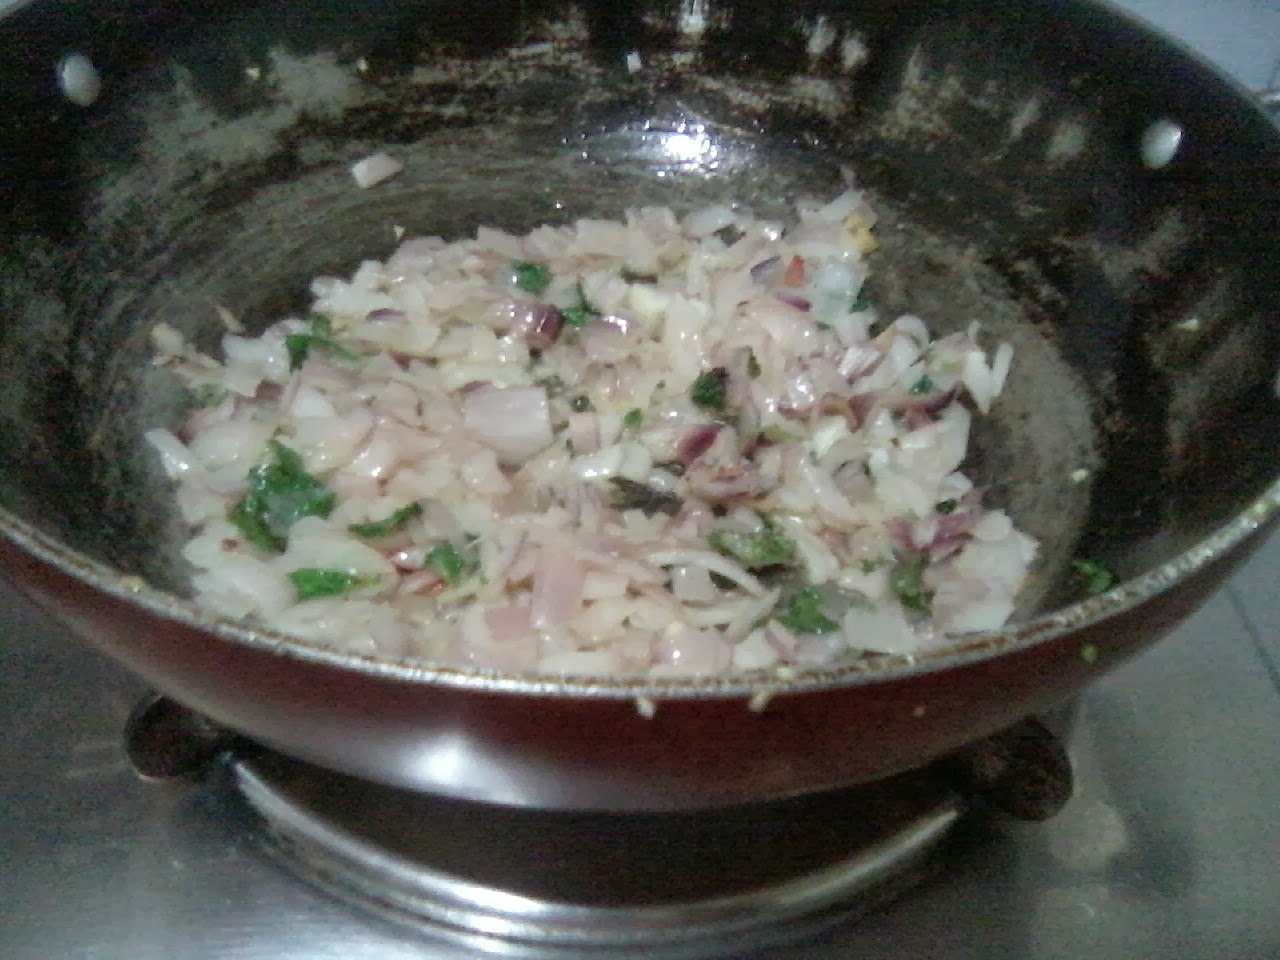
This Chicken Roast recipe is an easy breezy one where no spices i.e. garam masalas are used. It's made just by using very few ingredients.

One more interesting point in this recipe is no hours-long marination is required. We can just make it in very short time. This recipe is very useful when you want to relish your guests or family members with a crunchy n yummy chicken starter and that too in a very short time.
Now let us proceed with the making of Chicken Roast.....
Ingredients:
1. Chicken - 250 gms (Boneless and cut into small pieces i.e. to the size of small paneer cubes)
2. Cashew nuts - 10 (Slit vertically to half)
3. Curry Leaves - 10 to 15
4. Green Chillies - 5 (slit vertically to half)
5. Onion - 1 (chopped very finely)
6. Spring Onion Leaves - 3 to 4 strands (chopped finely)
7. Pudhina Leaves - 5 to 6
8. Lemon Juice - 1 n 1/2 tsps
9. Salt - To taste
10. Red Chilli Powder - 3 tsps
11. Turmeric Powder - 1/2 tsp
12. Ginger Garlic Paste - 1 tsp
13. Oil - 3 to 4 tbsps
Procedure:
1. First marinate the boneless small chicken pieces with salt, red chilli powder, turmeric powder and gg paste
2. Set aside for 20 to 30 mins
3. Heat oil in a pan, add cashew nuts and fry nicely
4. Once cashews are fried, take them out and drain on a tissue paper
5. Now fry green chillies and curry leaves
6. Once these are fried nicely take them out and drain on tissue paper
7. In the same oil add chopped onion pieces, pudhina leaves and once the onion pieces turn golden brown, add marinated chicken and fry till it turns light blackish i.e. the roasted effect and the chicken is nicely cooked from within
8. Do not cover the pan with lid while frying the chicken. If you do so, the chicken instead of becoming crispy will become soft and moist
9. Once the chicken is fried nicely, add chopped spring onion leaves and toss for few seconds
10. Now dish out and add lemon juice, garnish with already fried cashews, curry leaves and green chillies
11. Also garnish using finely chopped coriander and onion roundels
12. Chicken Roast is ready. Serve it hot, it will be so amazing, you can't refrain yourself any second more from tasting the yummy and crunchy chicken roast.

Tags: Chicken, starters, chicken roast, roasted chicken, murg roast, non veg starters
Only 69 Calories in Cantaloupe Smoothie ? yes its one of my best low calorie smoothie in every summer. just like banana cantaloupe fruit is rich in potassium which maintains blood pressure by balancing fluids and minerals in our body.
I saw this fruit in market and was very much attracted to its colour and the outer hard rocky texture. I came to know that its another breed of muskmelon also called Kharbuja With out making any delay I purchased it, brought home and started cutting it.
I want to dice the fruit into cubes and mix with sugar. I love eating the melon cubes tossed with sugar. But my hubby likes the fruit's juice. So I started making this Cantaloupe Smoothie.
Ingredients for Cantaloupe Smoothie
1. Cantaloupe - 1 (250 gms)2. Sugar - 8 to 10 spoons 3. Water - 1/2 cup
Procedure - How to make low Calories Cantaloupe Smoothie
1. Cut cantaloupe into 2 halves. Discard seeds and scoop the fruit2. In a blender add fruit, sugar, water and blend to a thick smoothie3. I called it smoothie as I didn't discard the pulpy part which we get after blending, bcoz pulp contains many nutrients.
4. I served the smoothie by topping with some finely chopped cantaloupe fruit pieces to get some nice crunchy taste while drinking the smoothie
5. Here presenting a beautiful cantaloupe rose :)
Health benefits of eating cantaloupe
- How many calories in cantaloupe - It has 69 Calories and 16g of carbohydrates in cantaloupe and are mostly from sugar.
- Cantaloupe during pregnancy - It is really good for pregnant women as it has essential nutrients required for pregnancy Healthy vitamins in cantaloupe are A and C, B1 which relieves heart burn in stomach and lowers metabolic syndrome.
- Cantaloupe melon helps in curing lung diseases so it good for people who smoke.
Veg Kheema Curry, I tasted this dish in a restaurant. My hubby n me both of us loved this
dish. The key point in this recipe to get its finer taste is obviously its scrumptious thick gravy and the variety of veggies used which were chopped very very finely. The veggies were minced almost like mutton kheema hence the name veg kheema curry....i.e. kheema of only veggies. Veg Kheema Curry tastes awesome with
all rotis n flavoured rices.
Ingredients:
1. Cauliflower - 1 cup
2. French Beans - 1/2 cup
3. Carrot - 1/2 cup
4. Capsicum - 1/4 cup
5. Potatoes - 1 cup
6. Paneer - 1 cup
7. Onions - 1 cup
8. Tomatoes - 2 cups
9. Green Chillies - 4
10. Coriander Leaves - 1/4 cup
11. Mint Leaves - 2 tbsps
12. Turmeric Powder - 1/4 tsp
13. Red Chilli Powder - 2 tsps
14. Salt - To taste
15. Garam Masala Powder - 1 tsp
16. Coriander Powder - 1/2 tsp
17. Curd - 1 cup
18. Butter - 1 tsp
19. Water - 1/2 cup
20. Oil - 4 tbsps
Procedure:
1. Mince all veggies and paneer very finely
2. Heat 2 tbsps of oil and fry paneer. Drain on tissue paper
3. Now in the same oil fry all veggies i.e. Cauliflower, potato, beans, carrot n capsicum. Drain on tissue paper
4. Now add 2 tbsps oil in the same kadai, add chopped onion, mint leaves and green chillies
5. Now add tomatoes and let them turn mushy
6. Now add all the fried veggies, cover with a lid and cook well7. Once veggies are cooked, add turmeric powder, red chilli powder, salt, garam masala powder and coriander powder. Cover and cook for 3 to 5 mins
8. Now add paneer, curd and water. Mix well and cook for 5 more mins
9. Once the curry is cooked well, dish out, garnish with butter, coriander leaves and serve hot10. Veg Kheema Curry tastes awesome with all rotis n flavoured rices.
Notes:1. For more gravy, you can grind onion and tomato and then add, instead of adding them finely chopped.Tags: Veg kheema curry, mixed veg curry, mix veg curry, kheema curyy, vegetable curry, vegetable kheema curry
Sprouts Dosa is a very healthy version of dosas. Its almost similar to pesarattu but with a little variation. The difference is, we make this using both moong dal(Green gram) and channa dal(chick peas) i.e., in short, sprouts. This is another way of using sprouts. Now let us get into its making......
Ingredients:1. Moong Dal - 1 cup2. Channa Dal - 1/2 cup3. Rice - 1/2 cup4. Green Chillies - 5 to 65. Ginger - 1 inch piece6. Garlic Cloves - 67. Cumin Seeds - 1 tsp8. Coriander Seeds - 1 tsp9. Coriander Leaves - 1/4 bunch10. Salt - To taste11. Oil - As needed12. Water - As needed
Procedure:1. Soak Rice, moong dal and channa dal overnight2. Drain water and grind adding ingredients from 4 to 103. Add little water as needed, the consistency of dosa batter will be thick like pesarattu batter only4. Heat a griddle, drizzle some oil and lay dosa using the batter. Roast on both sides and serve hot with Pudhina Tomato Chutney5. Sprouts Dosa tastes extremely heavenly with Pudhina Tomato Chutney
Chocolate Ganache glazed Pistachio Cake, ohh what a lengthy name. Chocolate Ganache means melted chocolate, it is glazed on a Pistachio flavoured cake. The cake is also loaded with small pistachio and chocolate chunks.
I have baked this cake in my new Little Master i.e. my new oven. I took the cake to a family get-to-gather organized by my hubby's cousins. My Little Master baked its first cake, the cake which won a remarkable applause from all my relatives on this new year 2014. Ingredients:
1. All purpose flour (i.e. Maida)- 1 and 1/2 cups
2. Eggs - 2
3. Butter - 1/2 cup
4. Sugar Powder - 1 cup
5. Milk - 1/2 cup
6. Baking powder - 1 and 1/2 tsp
7. Vanilla Extract - 2 tsps
8. Green Food Colour - 5 to 6 drops
9. Oil - As needed
10. Pistachios - 100 gms
11. Chocolate Bars (any) - 2
Procedure:
1. Grind pistachios coarsely and keep aside. I have grinded it coarsely so that to get nutty texture while eating the cake.
2. In one bowl beat eggs and keep aside.
3. In another bowl sieve flour, sugar powder, baking powder.
4. Pour melted butter, milk, beaten eggs and vanilla essence, green food colour to this flour mixture and mix properly.
5. Add ground pistachios powder also to this and mix well.
6. Grease a pan using oil or butter.
7. After greasing the pan place a wax paper in the pan and pour cake batter into the pan.
Using Oven:
8. Pre-heat oven for 10 minutes on 350 degrees F(175 degrees C) temperature and then bake the cake for about 30 to 40 minutes.
9. Cake is done when you insert a knife or toothpick in the cake and it comes out clean.
10. Take out the pan and allow it to cool. After cooling, demould the cake from its pan.
Using Pressure Cooker:
11. In the absence of oven you can bake the cake in normal pressure cooker as well.
12. For this, pour water upto 1 inch high in a pressure cooker which is of 3 litre and above capacity.
13. Now place a stand in the water and then place our pan with cake batter on this stand.
14. Close the cooker with lid.
15. Do not put whistle.
16. Steam for 30 minutes on a medium flame.
17. After 30 minutes, open lid and allow steam to escape.
18. Now heat without lid for another 5 minutes. Take out and cool the cake at room temperature.
Preparing Chocolate Ganache cake:
19. Melt chocolate bars using double boiling method i.e. heat 2 glasses of water in a wide round pan. Take 2 tsps of water and chocolate bars in a small bowl and place the bowl in steaming water. Chocolate bars will melt and you get liquid chocolate which is what called as Chocolate Ganache.
20. Pour this melted chocolate ganache carefully on the cake as shown in pic so that it doesnot flow away from the cake.
21. The poured ganache cools down immediately and gets solidified staying still warm in the middle and a bit crunchy along the sides.
22. Now top the ganache on the cake with small bits of chocolate and pistachios.
23. Chocolate Ganache glazed Pistachio cake is ready. Serve it chilled :).....
Linking my cake recipe to Bake Fest #28 Event:
Gobi 65 is a very popular starter. In any restaurant it is a very commonly ordering starter. Also it is very popular in bars as people order frequently for munching with wine.
Instead of using food colour here we use red chilli paste in its preparation which gives it a very nice red colour.
Ingredients:
1. Gobi/Cauliflower florets - 1/4 kg
2. Salt - To taste
3. Ginger garlic paste - 1/2 tsp
4. Garam Masala Powder - 1/2 tsp
5. Curry leaves - 1 tsp (very finely chopped)
6. Coriander leaves - 1 tsp (very finely chopped)
7. Red chilli paste -1 tsp
8. Pepper powder - 1/2 tsp
9. Maida - 3 tsps
10. Corn Flour - 4 tsps
11. Water - As needed (few tsps of water)
12. Oil - For deep frying
13. Green chillies - 4 (finely chopped)
14. Spring onion leaves - 4 to 515. Lemon - 1
Procedure:
1. First blanch gobi florets in hot water for a minute so that dust or any insects in the gobi will come out
2. Now take all the above ingredients(from 2 to 11) in a bowl and mix nicely, dip blanched gobi florets in this batter so that the florets get a nice thick coat of the batter
3. Now fry these coated florets in hot oil
4. Fry twice so that florets become pretty crunchy
5. Drain the deep fried florets on a tissue paper and garnish with fried green chillies and curry leaves and fresh spring onion leaves
6. Also squeeze a lemon as it gives a real extra tangy taste
7. Delicious n yummy yummy fuming Gobi 65 is ready to serve hot
Mirchi Ka Salan is a very tasty side dish served with biryanis. Mirchi ka salan can be served with pulaos also. Mirchi ka salan prepared using jalepano breed chillies tastes real good than Mirchi ka salan prepared with regular chillies.
Ingredients:
1. Big Mirchi(not much spicy ones) - 18 to 20
2. Cumin Seeds - 1 tsp
3. Coriander Seeds - 1 tbsp
4. Sesame Seeds - 2 tbsps
5. Dry Red Chillies - 2
6. Roasted Peanuts - 1/2 cup
7. Garlic cloves - 6 to 8
8. Ginger Piece - 1 inch piece
9. Mustard seeds - 1 tsp
10. Curry leaves - 8 to 10
11. Onions - 1 medium (grated or chopped and ground in a mixer)
12. Turmeric powder - 1 tsp
13. Salt - To taste
14. Tamarind pulp - 2 tbsps
15. Water - 3 to 4 cups
16. Coriander leaves - 1 tbsp
17. Oil - As needed
Procedure:
1. Put a slit on each mirchi but you should not cut it, just a slit. This is bcoz, when we fry mirchi they splutter if a slit is not kept
2. Oil should not be too hot, fry mirchi in the oil in a low to medium flame. It takes a bit longer time to get fried nicely and evenly
3. Meanwhile, dry roast cumin, coriander and sesame seeds i.e. without oil
4. In a mixer jar, add dry red chillies, roasted peanuts, these dry roasted ingredients, garlic cloves, ginger (You can add 2 tsps of GG paste directly instead of adding ginger and garlic seperately), some water and blend to a thick paste
5. Mirchis might get cooked by this time so take them out and drain on a tissue paper
6. Heat another kadai, add 1 tbsp of oil, mustard seeds, curry leaves, onion paste, already ground paste and cook for a minute
7. Add salt, turmeric powder, water, Tamarind pulp, fried mirchi and cook on medium flame for 5 to 10 mins till mirchi becomes soft and the flavours we added infuses into it8. Gravy should not be too thick as we prefer in a little thinner consistency only
9. Garnish with coriander leaves and serve with hot n spicy hyderabadi chicken dum biryani
10. Mirchi ka salan can be served along with biryanis, pulaos or even with steamedrice also :)